How to use Split Screen feature on Windows 11
With Windows 11, split-screen was renamed to snaps layout, and multiple screen setup was added. You can now set up to four screens and work on four apps at the same time. However, if you want to use this feature in Windows 11 you have to enable it. If you don't enable it, you'll be limited to using the dual-screen in a split-screen configuration.
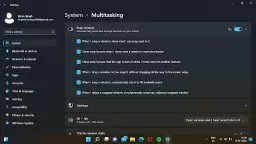
Open Settings on your Windows 11.
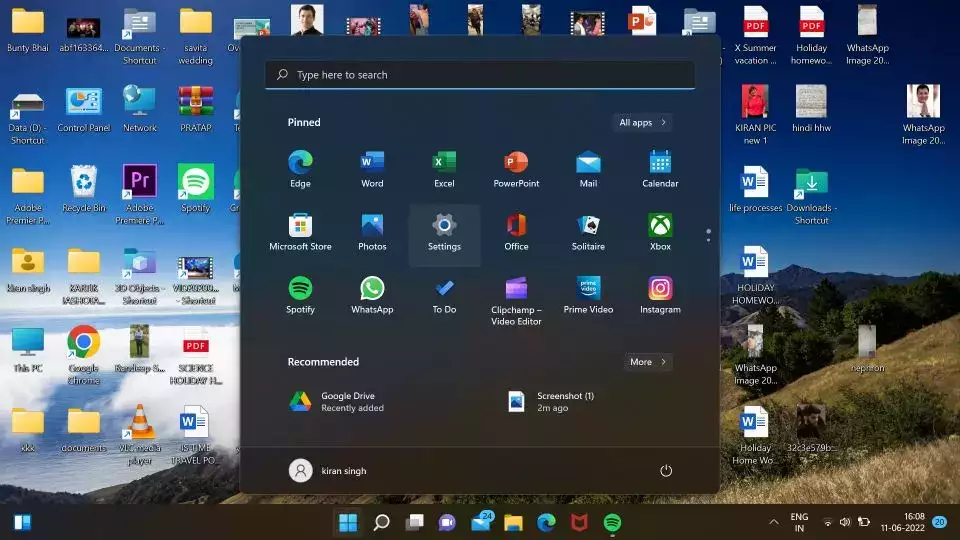
Go to the System tab.
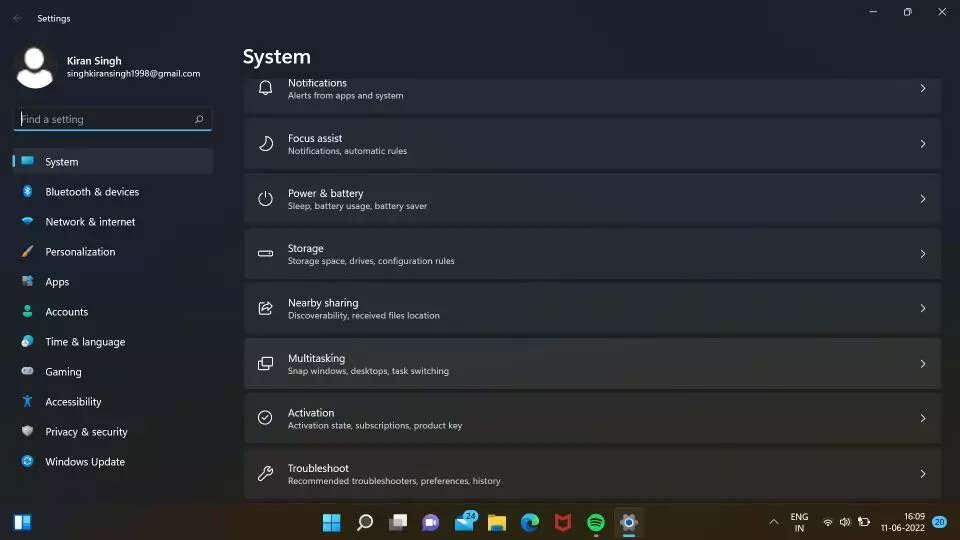
Click on the Multitasking tab.
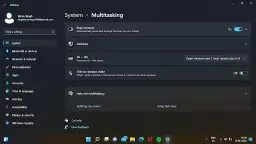
Tap on Snap Windows. Enable it by toggling it on or off.
Hover over the maximize button. You'll now see a variety of snap layout options to choose from.

Simply select one of the layouts and your screen will be rearranged accordingly.
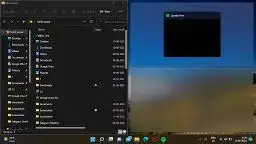
Dual screen (50:50)

Dual screen (80:20)

Triple screen.
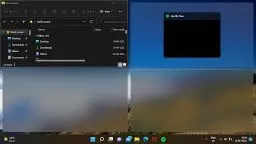
Four screens.
( Details and picture courtesy from Source, the content is auto-generated from RSS feed.)
Join our official telegram channel for free latest updates and follow us on Google News here.

