
android: How to enable call forwarding on your Android device

In case you are travelling, setting up the call forwarding on your Android device can help you to avoid call roaming fees as you will be able to reroute all calls to your home phone, Google Voice number or a local number. You can also use this feature to avoid getting bothered during your vacations. It is quite simple to set up call forwarding on most Android devices as long as their cellular plan supports the feature.
However, it is important to note that all Android devices don't have the same settings and menus. The Android UI may vary among manufacturers, so some steps might differ depending on the phone you are using. We have used a Xiaomi smartphone that runs stock Android 11 to provide the instructions. Follow the step-by-step guide here to enable call forwarding on your Android device.
Go to the phone app on your device
Tap the three-dot menu button on the top right-hand corner of your display
Hit the 'Settings' option from the opened list
Look for the 'Calling Accounts' option here and tap on it to open 'Call Settings'

Tap on the option that says 'Call Forwarding settings' and choose the SIM on which you want to enable this feature (Only for dual SIM users)

Now you will be given the option to choose the type of call (video/voice) you want to forward; tap on voice calls
Here you will find multiple options that include -- 'Always forward', 'When Busy', 'When unanswered' and 'when unreachable
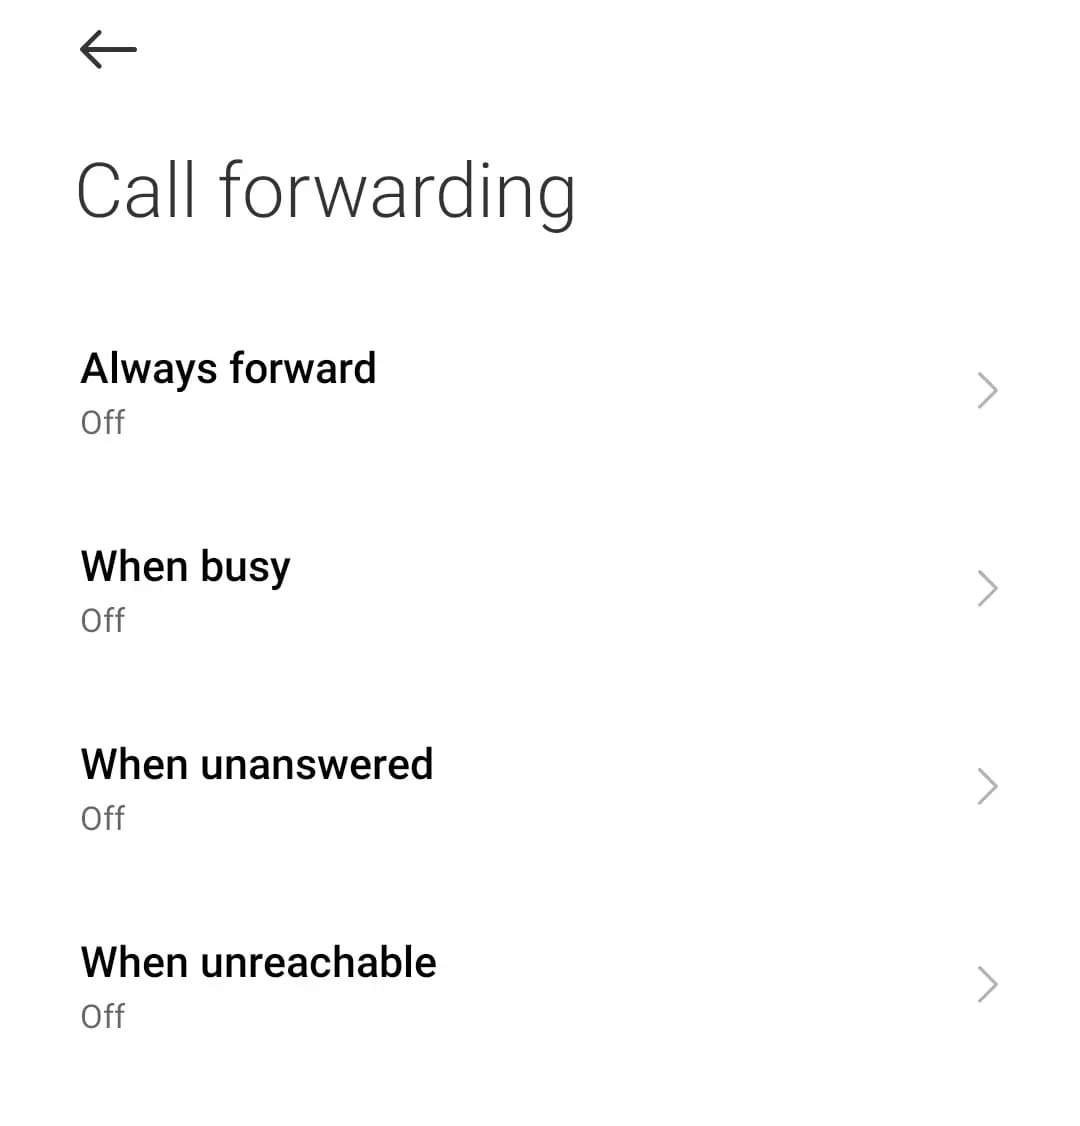
Choose the option according to your preference and enter the number where you want your calls to get redirected and hit the 'Turn on' option
( Details and picture courtesy GN, the content is auto-generated from news agency feed.)


